XR & Digital Twins · 2022 · Shipped
House Simulation 2
A solo follow-up to my house digital twin that lets users recolour any material in the room through an adaptive radial UI and a custom colour picker.
- Role
- Solo developer
- Team
- Solo
- Timeline
- 2022
- Status
- Shipped
- Stack
Highlights
- A radial UI that generates one button per material on whatever object you click
- Buttons spaced evenly along an arc, however many materials an object has
- A hand-written colour picker that reads the pixel under the mouse
- Observer-pattern events between the UI and the scripts
Overview
House Simulation 2 is the follow-up to House Simulation 1, my first digital twin. I built it solo, and it gives users more control. They can change the colour of objects around the room through a more dynamic UI, which makes the experience more personal and immersive.
What I built
- Camera setup. The room is small, so I adjusted the camera's field of view to show more of it, and used Cinemachine for smooth, flexible control of the main camera.
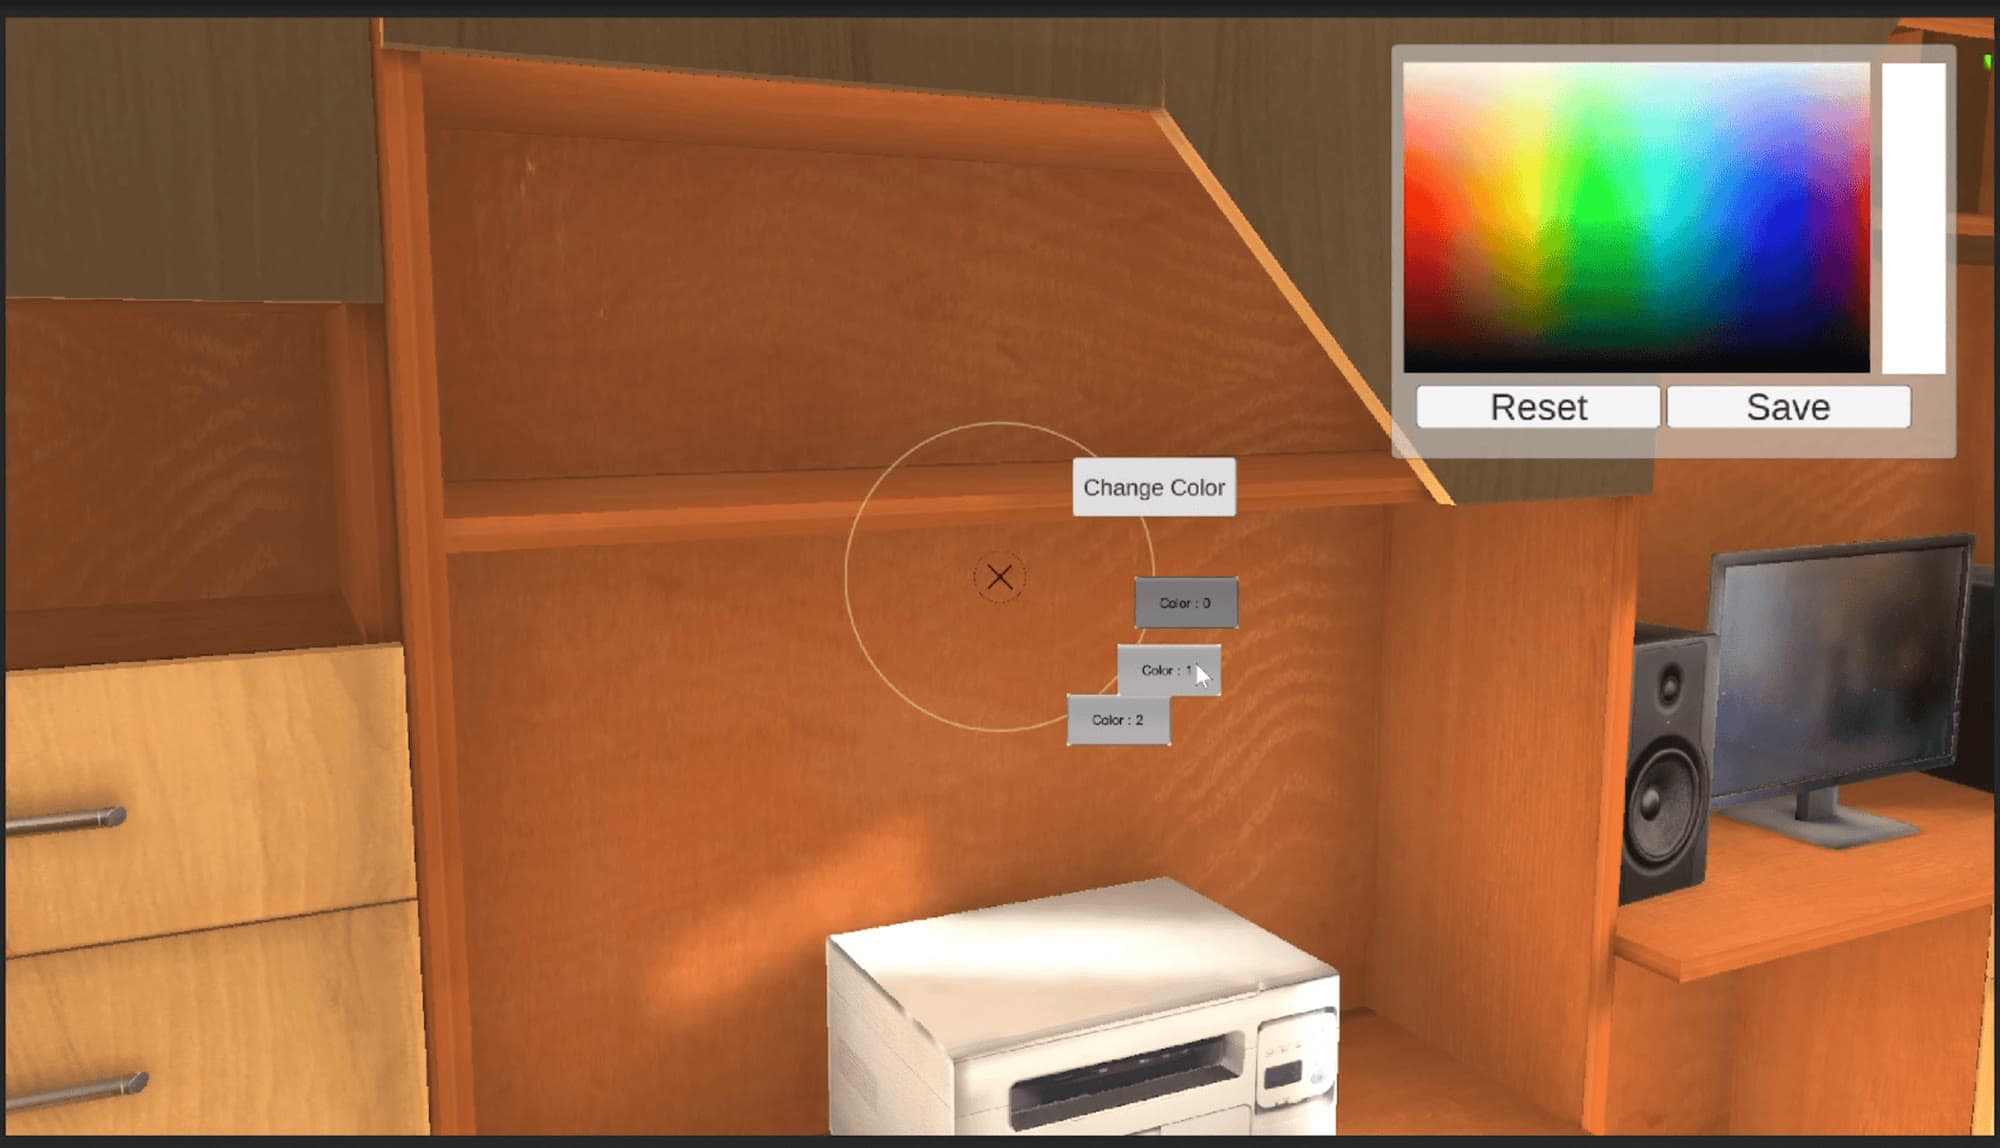
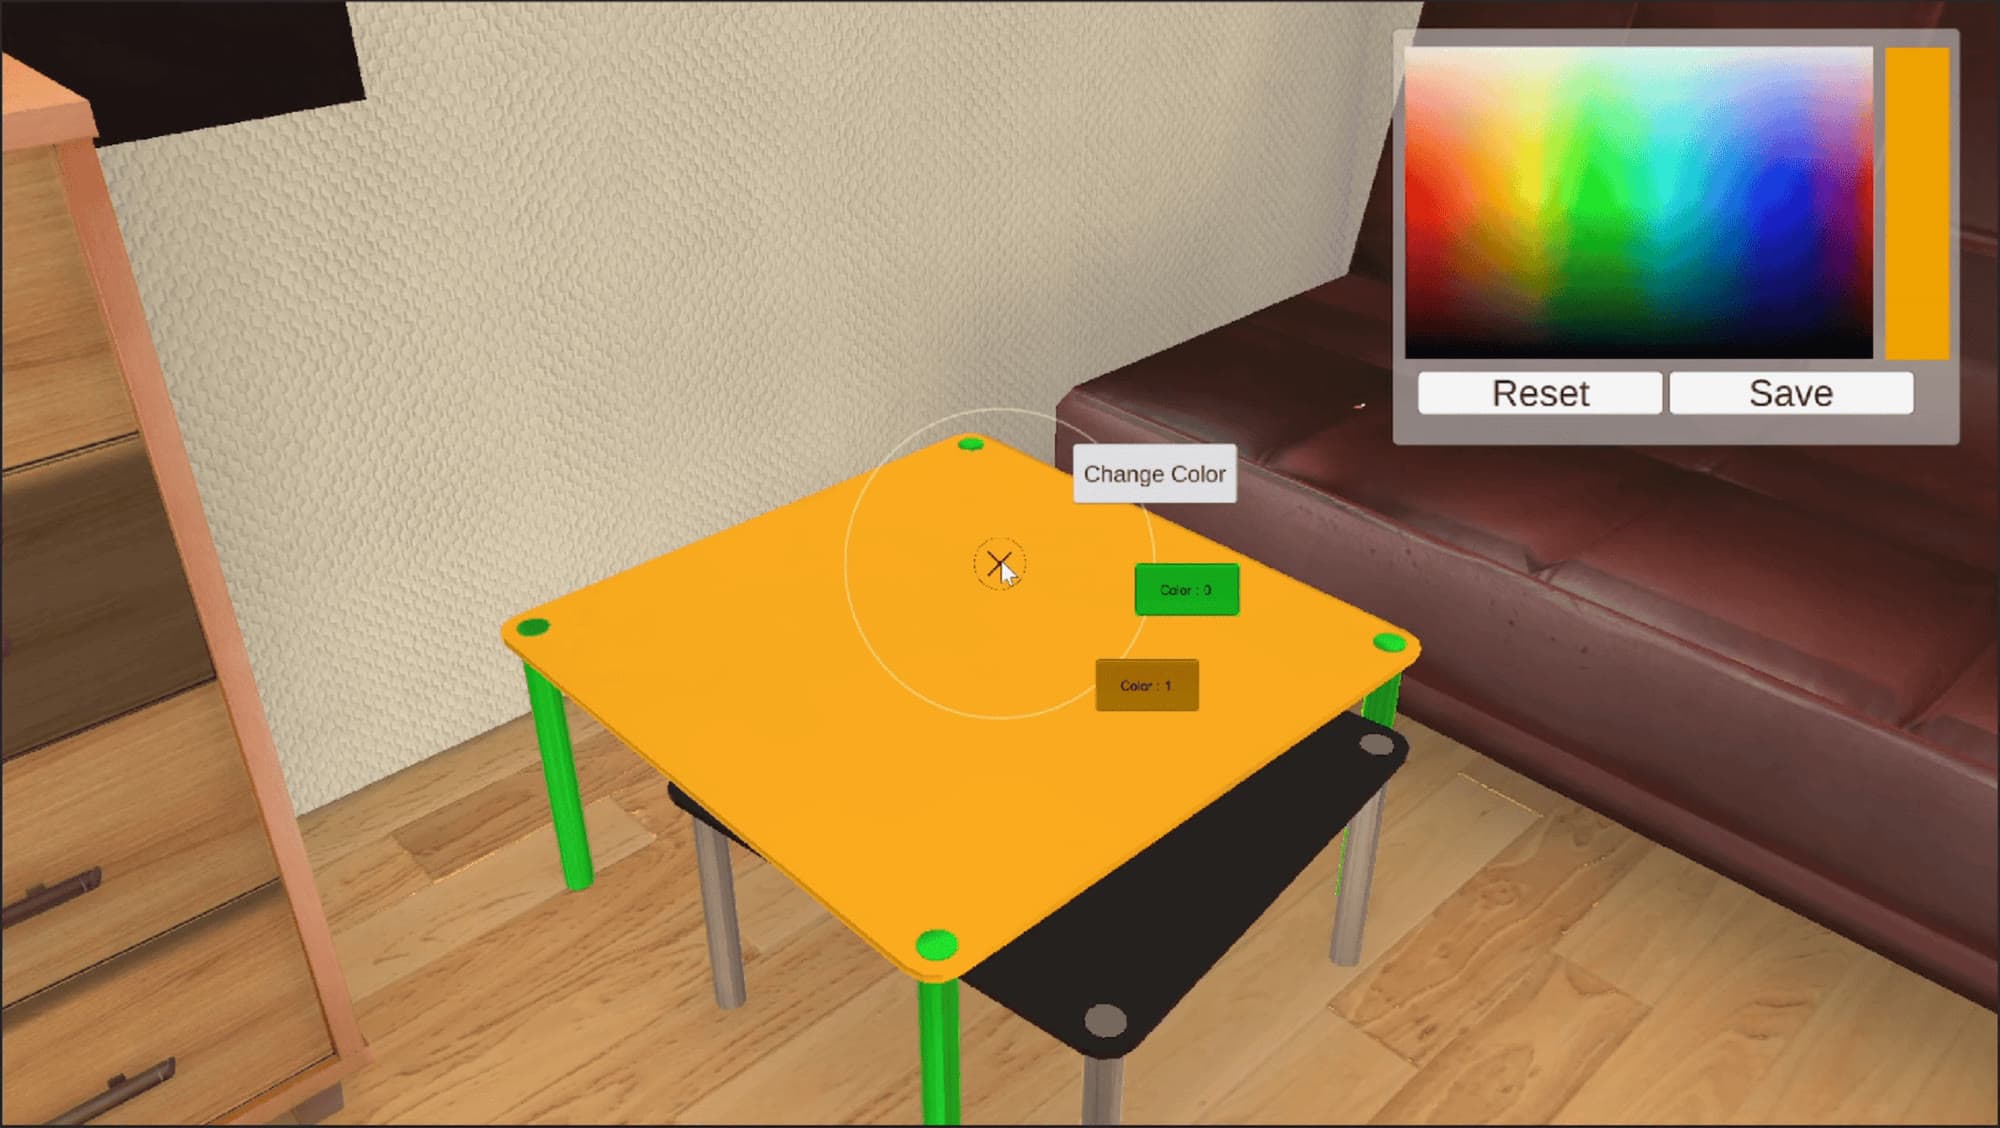
- Adaptive radial UI. It keeps the circular design of the first simulation, with one key improvement. Clicking a recolourable object extracts its materials and generates a button for each one. Objects have different numbers of materials, so the buttons are spaced evenly along a circular arc, and the layout looks the same however many there are.
- Observer pattern. The UI and the scripts communicate through C# events, so the UI responds to user actions without hard references between components.
- Colour changes. The Change Color button opens a palette window. A chosen colour is applied to the selected material by adding an extra material layer on top. Users can also bring back previous colours or remove a colour.
- Custom colour picker. Instead of a stock widget, I wrote my own: it tracks the mouse position over the palette image and reads the pixel colour directly.
Technical breakdown
Each material gets a button placed by converting an angle to a position, spread over a quarter circle around the centre of the screen:
void ChangingColor()
{
    for (int i = 0; i < PlayerLook.objAllMaterials.Length; i++)
    {
        float t2 = i / (float)PlayerLook.objAllMaterials.Length;
        float angle = t2 * ((Mathf.PI * 2)/4);
        Vector2 vector= new Vector2(Mathf.Cos(angle), Mathf.Sin(angle));
        Vector2 vector2 =new Vector2(Screen.width/2,Screen.height/2)+ vector * 130;
        GameObject buttons = Instantiate(GUIButtons, vector2, Quaternion.identity);
        buttons.GetComponent<GUIButtonScript>().indexOfMaterial = i;
        buttons.transform.parent = GUIButtonsParent.transform;
    }
}
The colour picker maps the mouse position from screen space into the palette texture's pixel space and samples it:
void SetColor()
{
    Vector3 imgPos = _texture.position;
    float posX = Input.mousePosition.x - imgPos.x;
    float posY = Input.mousePosition.y - imgPos.y;
    int localPosX = (int) (posX * (_refSprite.width / _texture.rect.width));
    int localPosY = (int) (posY * (_refSprite.height / _texture.rect.height));
    Color c = _refSprite.GetPixel(localPosX, localPosY);
    setObjectColor(c);
}
Reference
Windows build, available on itch.io. Built with Unity's Cinemachine package.
Gallery04
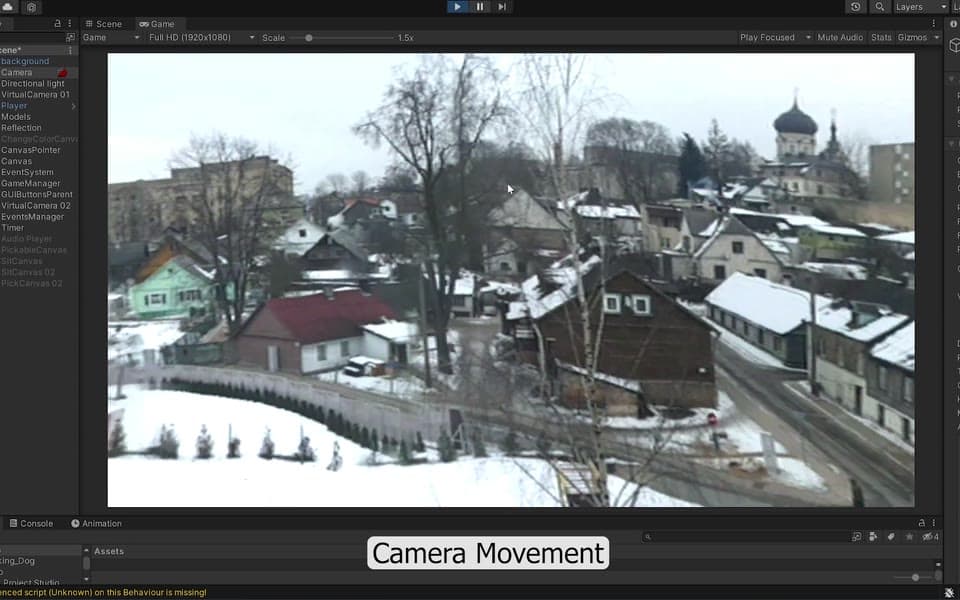
Cinemachine camera setup 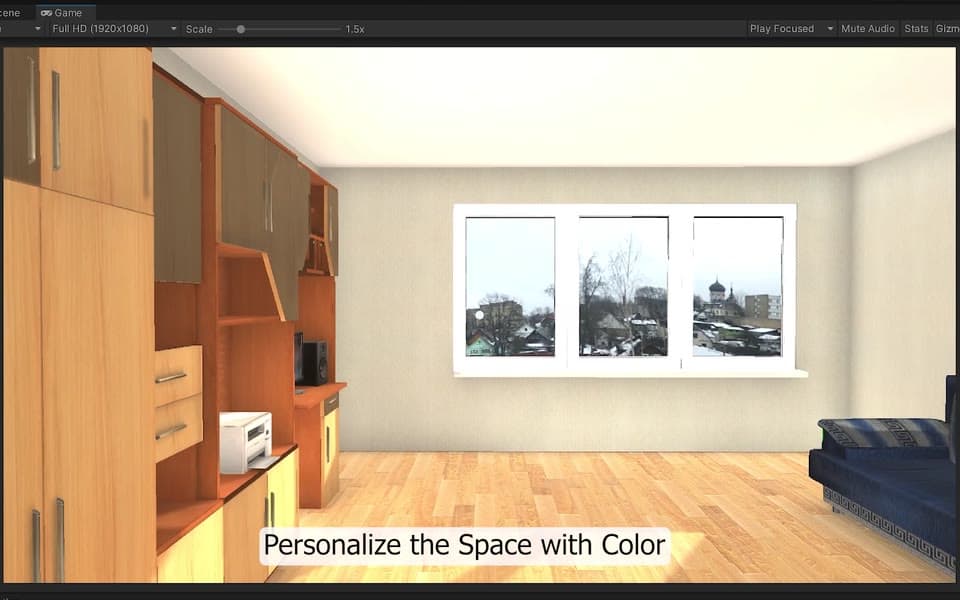
Personalising the space with colour